


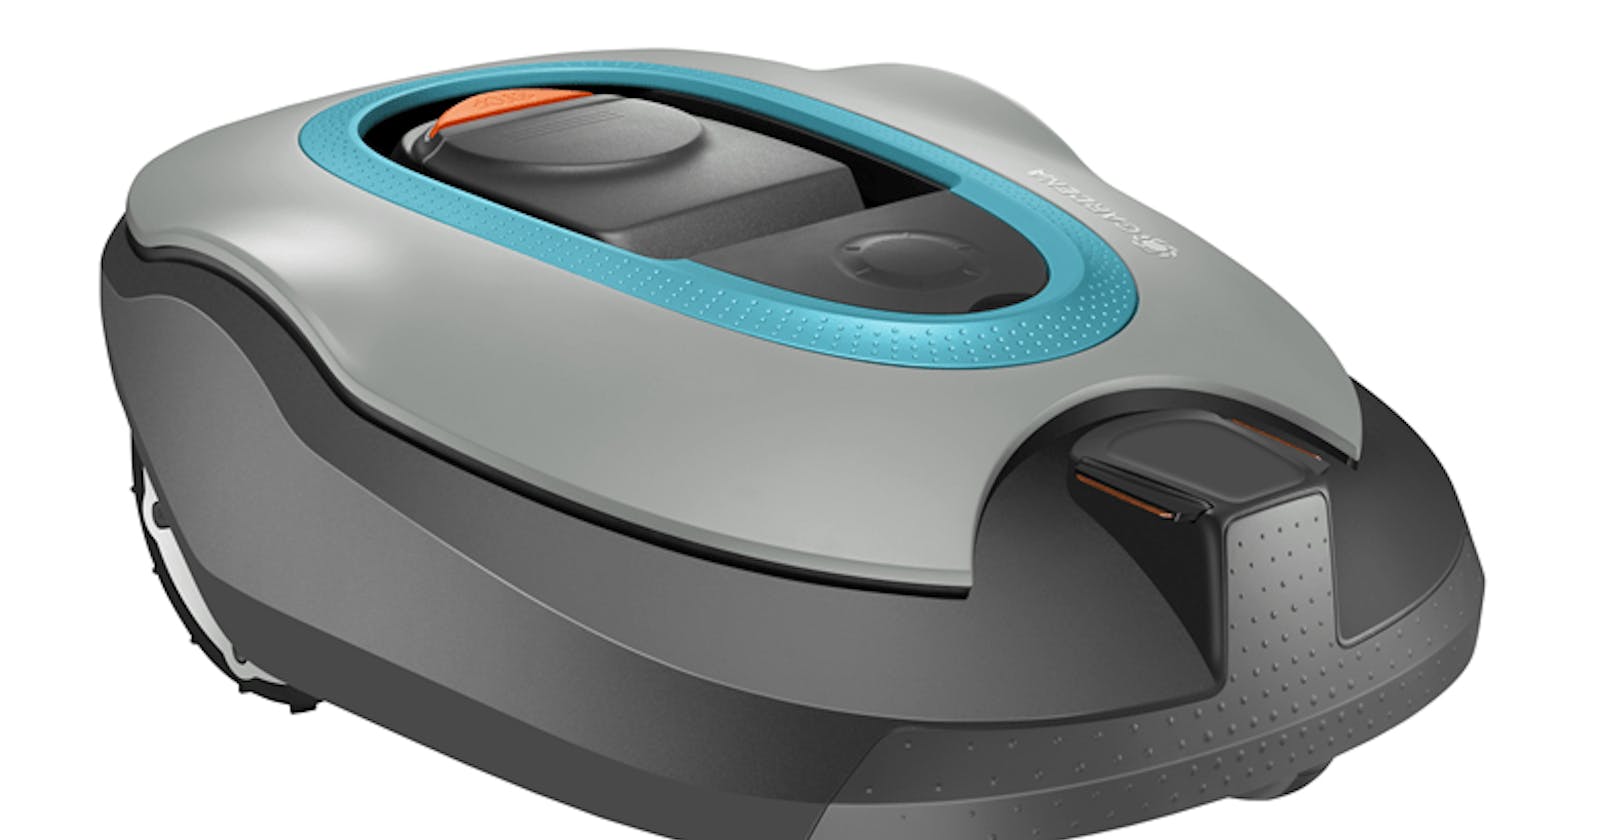
My robot lawnmower started running in a circle, and the left wheel made a metallic noise when turning. So I figured I had to change the motor.
I couldnt find any information about how to disassemble or repair this lawnmower, so I figured I could just wing it. And this blog post is made to help out anyone else needing to repair their Gardena lawnmower.
I found the part number to be the 587 44 94-02 motor kit (looks like this), I ordered a new rubber sealing strip aswell. These are original parts that can be used both for Gardena and Husqvarna. In Norway the best place to get these parts seems to be Gartnerservice
This is how I disassembled the lawnmower:
Step 1 - disconnect the battery
Turn off the lawnmower, open the battery cover by removing the 4 torx bolts
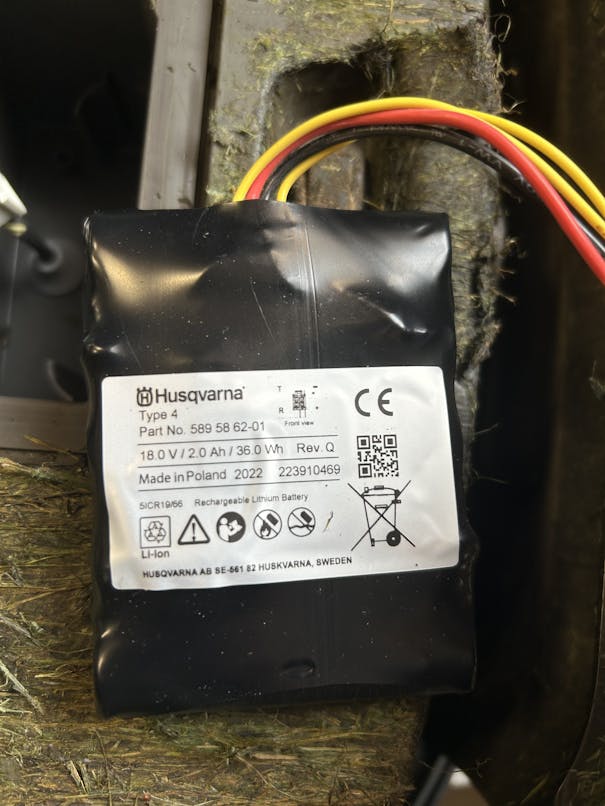
Close the cover to avoid getting dirt inside the battery compartment.
Step 2 - remove the rear cover
Two torx bolts holds the rear cover attached.
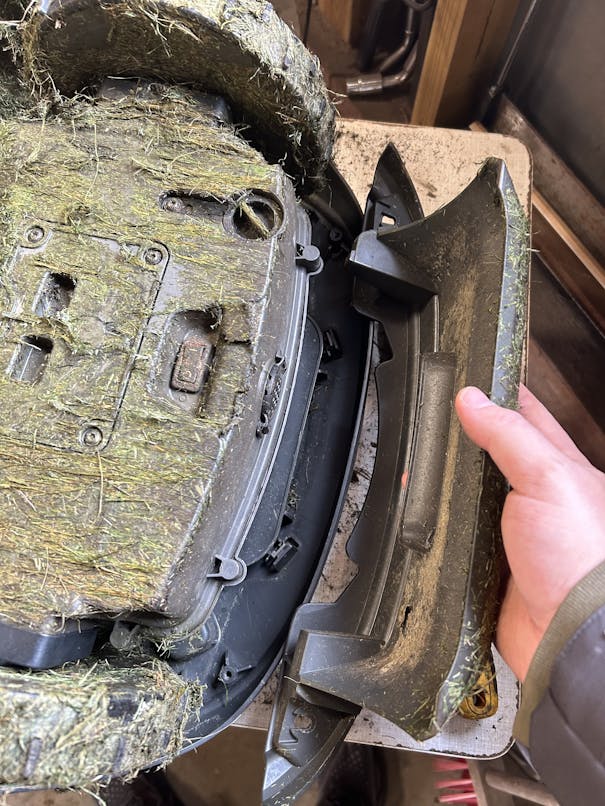
Step 3 - remove the top plastic cover(s)
The light gray top cover is attached by plastic clips.

Step 4 - release top chassis from the shock absorbers
The shock absorber gaskets should be slid out of their sockets. They can be quite stuck, I had to lube with some WD-40 and use quite some power to get them slid into the open position. It might be best to start with the front one, but this is attached to the shock detector so be a bit careful

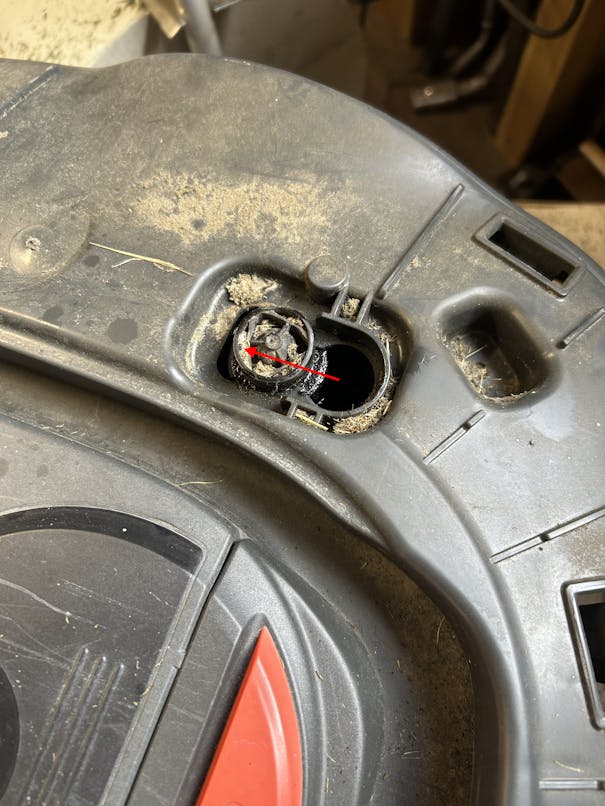
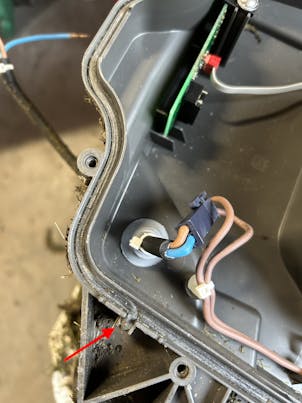
Step 5 - disconnect the charging cable
Remember to turn off the lawnmower and disconnect the battery before doing this step.
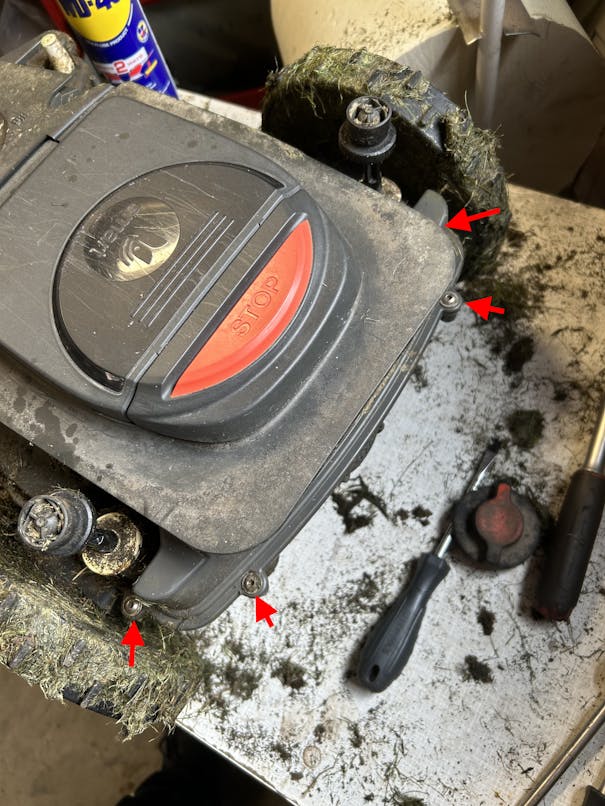
Step 6 - open main chassis
Remove the marked torx bolts.
Remember the top of the main chassis has the controls and the display, these are connected with wires so be careful when lifting the top chassis.

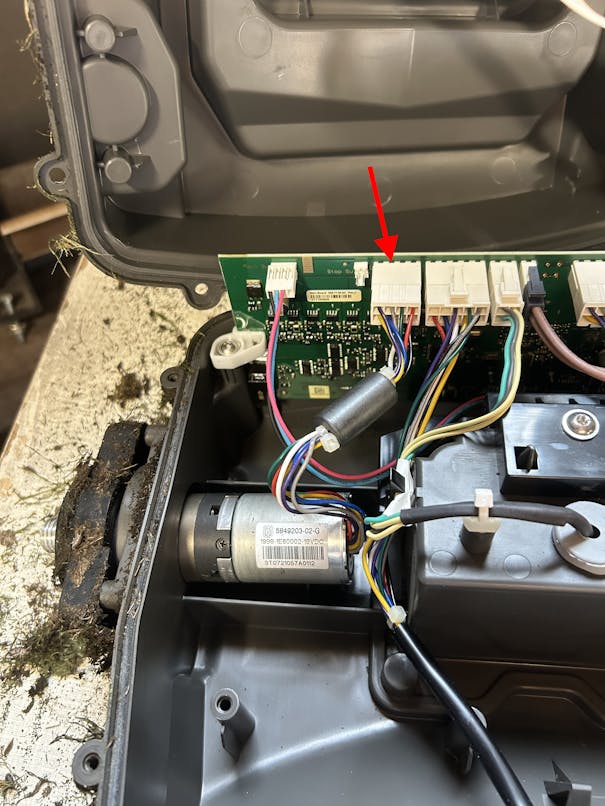
Step 7 - disconnect wheel motor
Unclip the cable
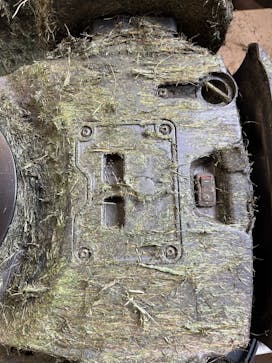
Step 8 - remove wheel motor
Remove wheel cover, loosen wheel nut.
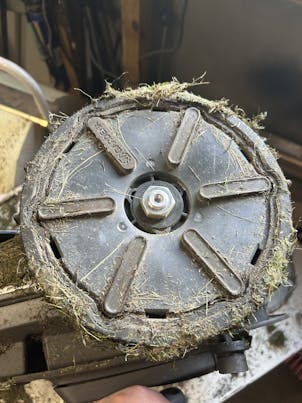
Remove the 4 torx bolts, slide the motor out.

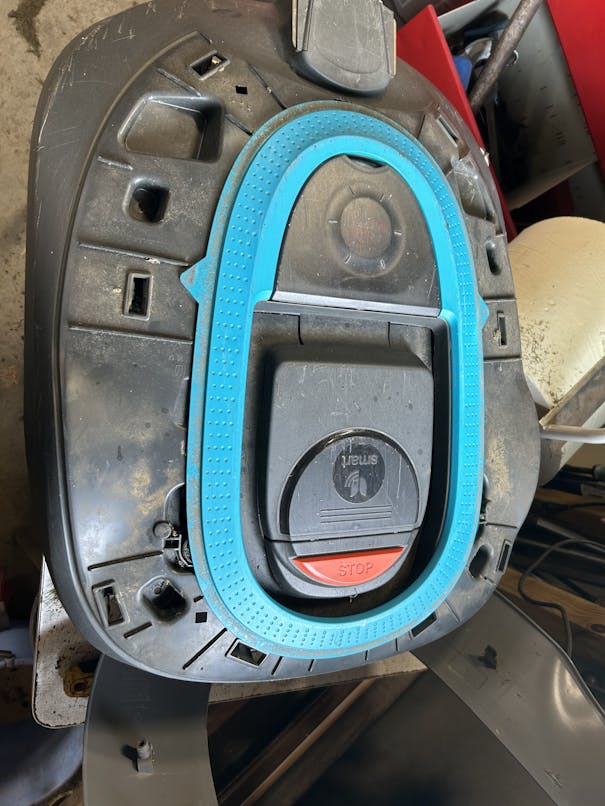
Step 9 - replace sealing strip
Overlap the strip a bit at the starting point, make sure to press the strip gently down into the groove.
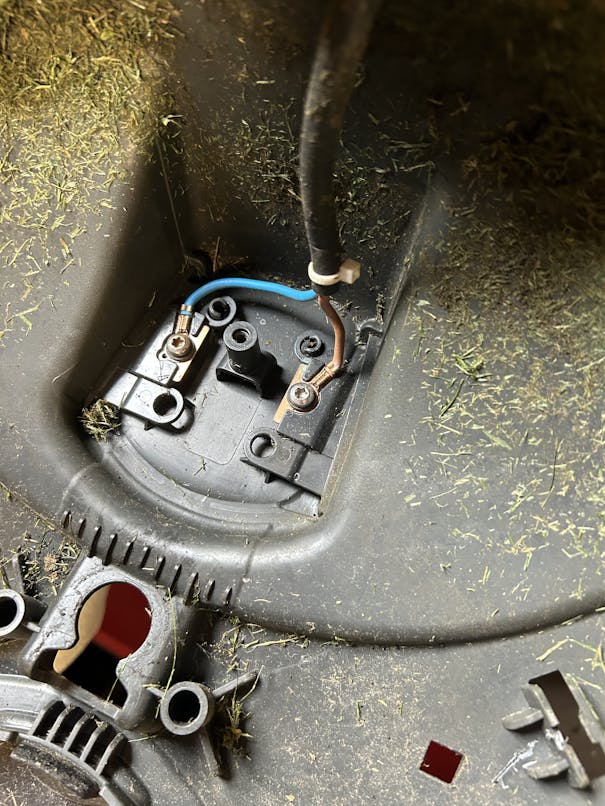
Overview picture of the inside of the lawnmower
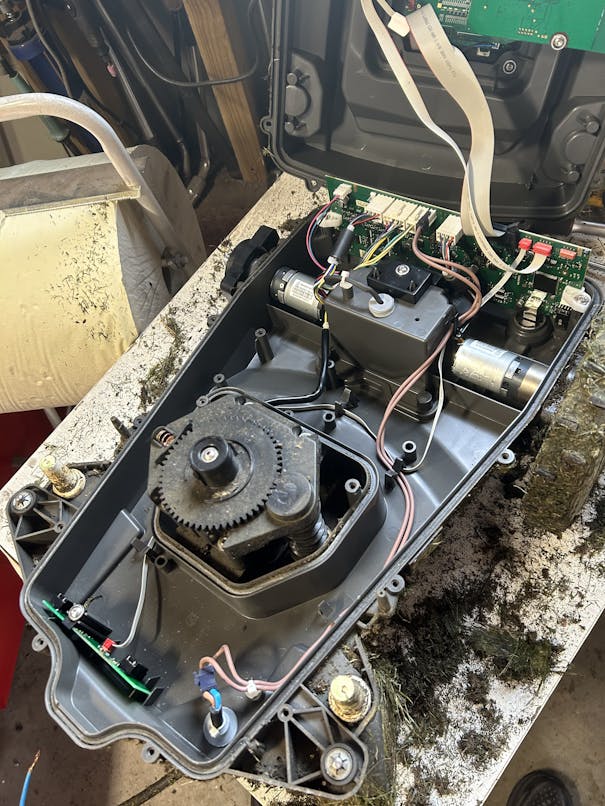
Took about an hour to do, most of the time was fidgeting with the shock absorbers being stuck. New motor works fine, lawnmower is back to working 24/7